
Connect & Manage Your Calendar Scheduling
Easily connect your calendar to Discovered so candidates can book interviews or meetings directly with you. This article explains how to set up your scheduling link, configure meeting details, and manage reminders.
Overview
The Calendar Settings section in your Discovered profile lets you:
- Use an auto-generated scheduling link hosted by Discovered.
- Integrate an external scheduling tool like Calendly.
- Customize meeting location, name, and description.
- Define availability, meeting duration, and buffer times.
- Add reminders so candidates never miss their scheduled time.
How To Connect & Manage your Calendar Scheduling:
1. Access Calendar Settings
- Click your name in the top-right corner.
- Select My Profile.
- On the profile preview page, click Edit Profile.
Prerequisite: You need to set up your email before proceeding to the following steps. Visit this article to set up your email.
- Scroll down to Schedule Meeting and Calendar Settings.
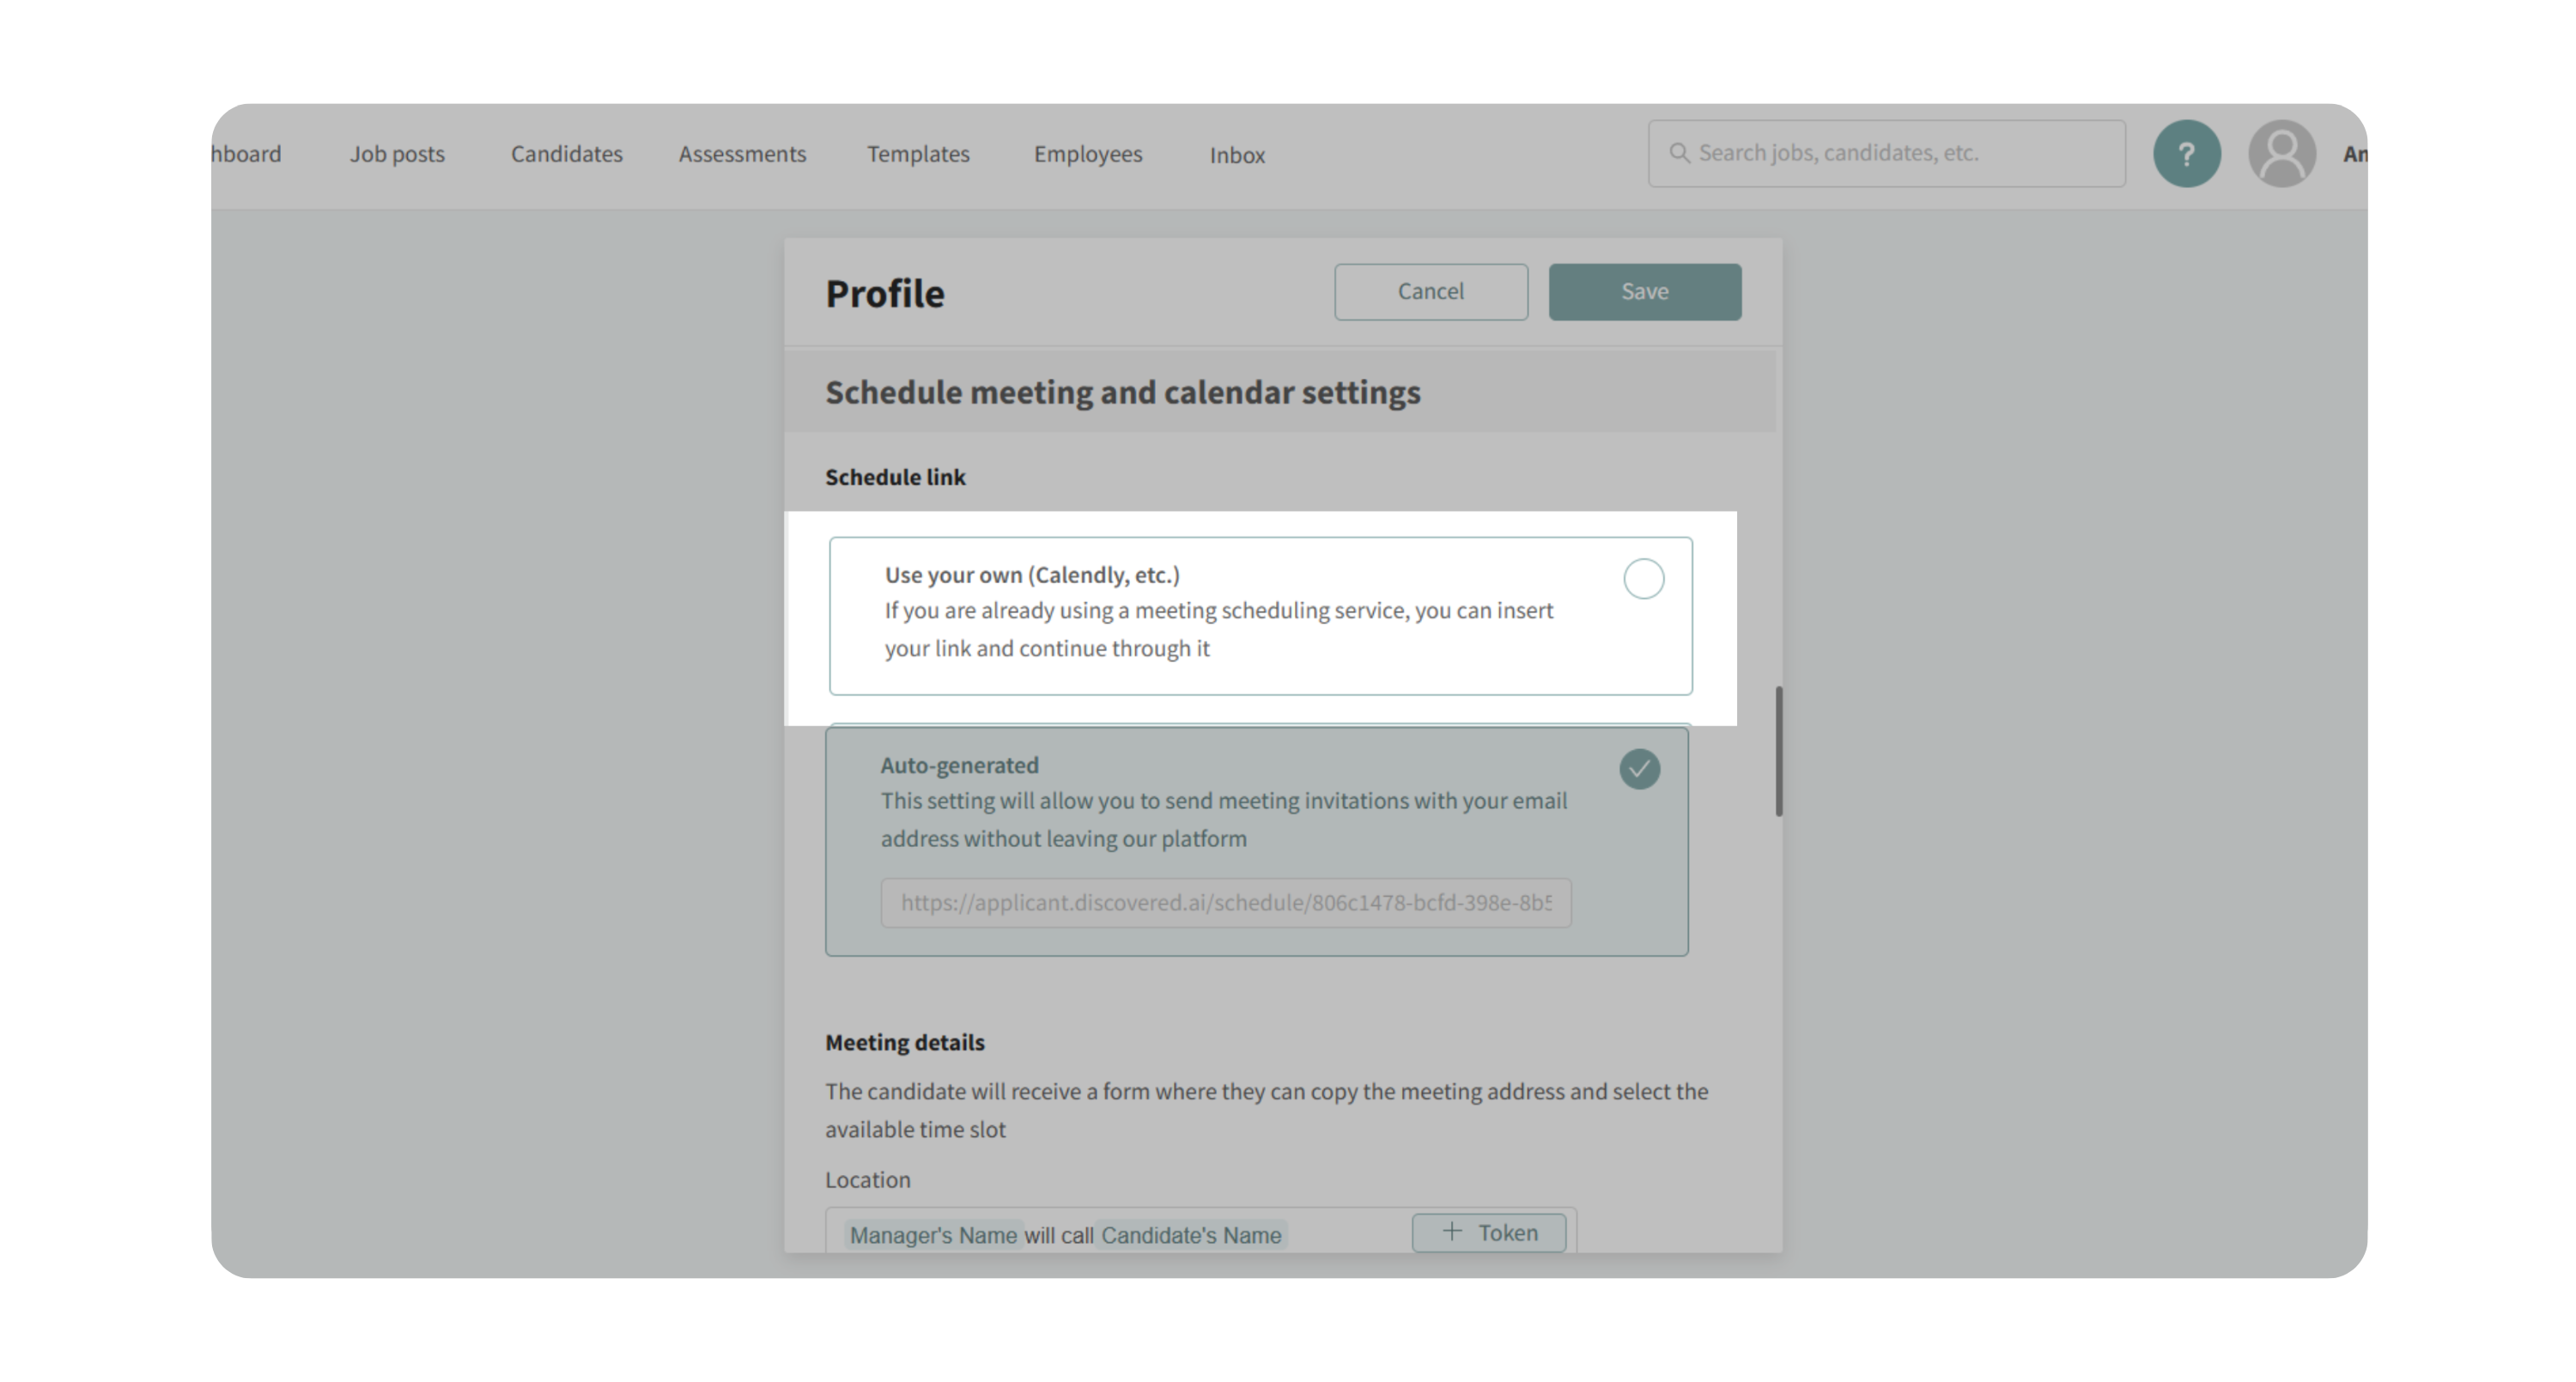
2. Choose Scheduling Link Type
- Auto-Generated Link
- Available if you have integrated your email address.
- Generates a Discovered-hosted scheduling link you can share with candidates.
- Booked meetings are automatically added to your connected calendar.
- Custom Link
- If you prefer using an external tool (e.g., Calendly), select this option.
- Paste your existing scheduling link.
Note: If using a round-robin scheduling link, every participant must have a Discovered profile and connect their calendar to ensure bookings sync correctly.
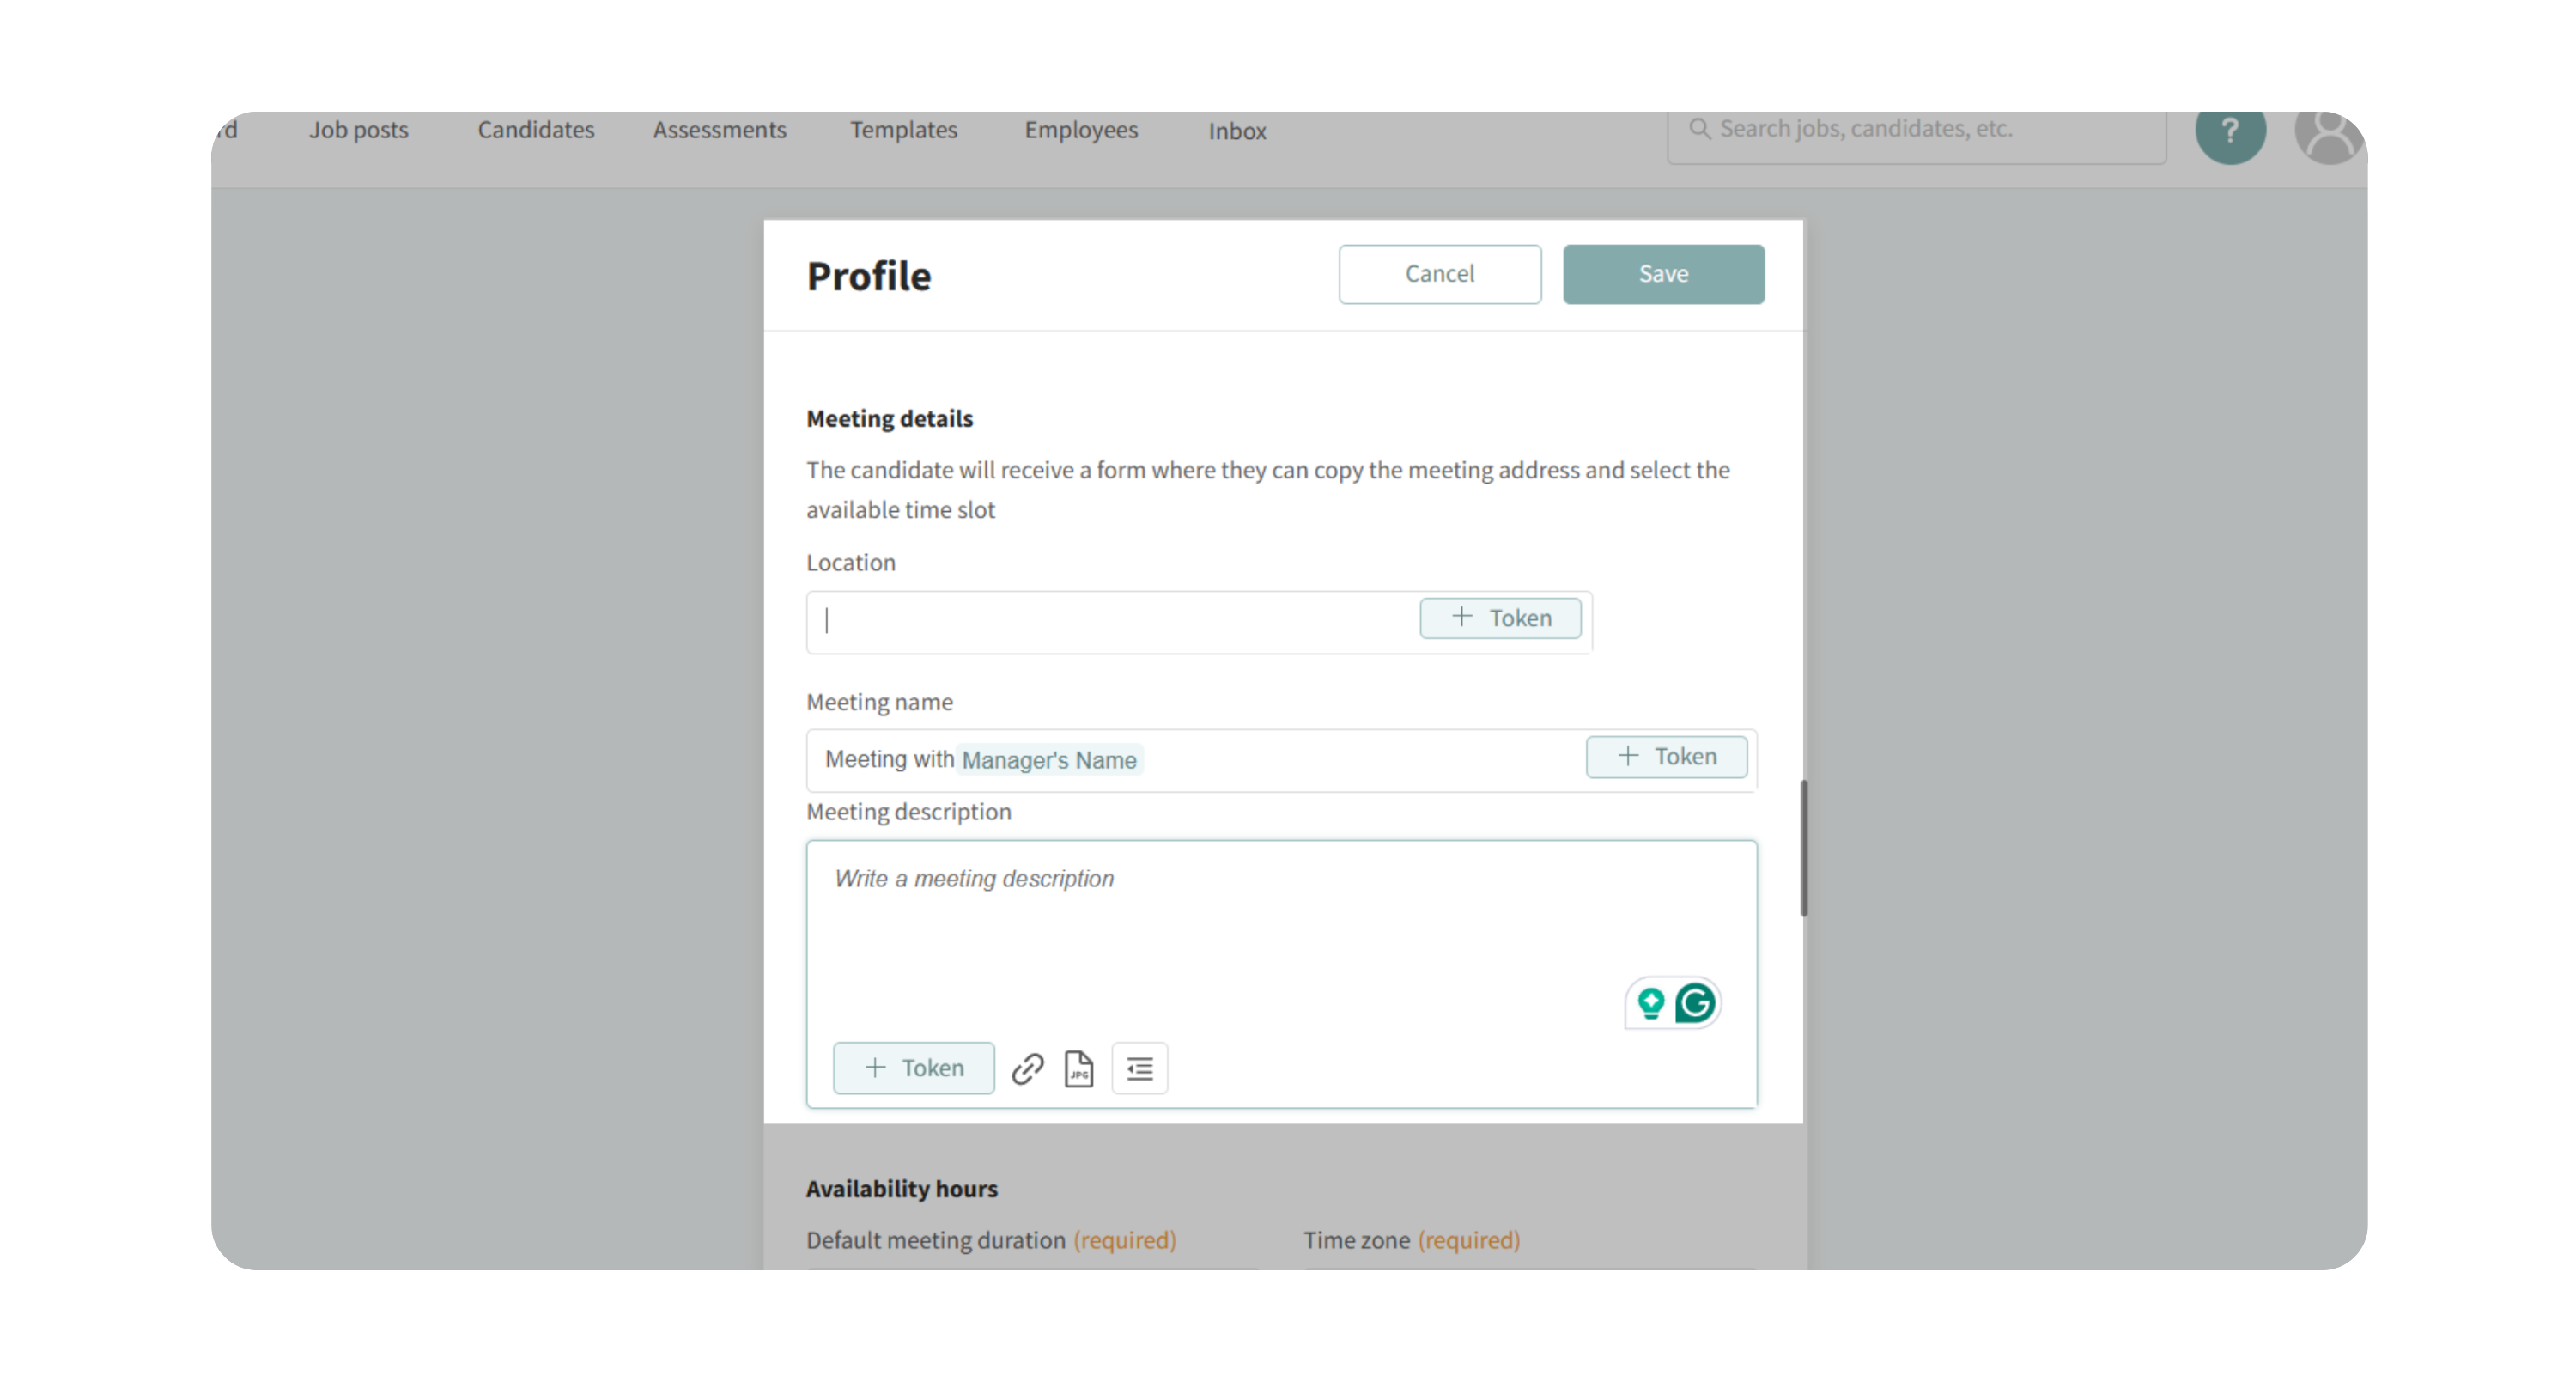
3. Configure Meeting Details
- Meeting Location – Add a physical address or a virtual meeting link (e.g., Zoom).
- Default Meeting Name – Example: Meeting between [Your Name] and [Candidate Name].
- Meeting Description – Provide context about the interview or session.
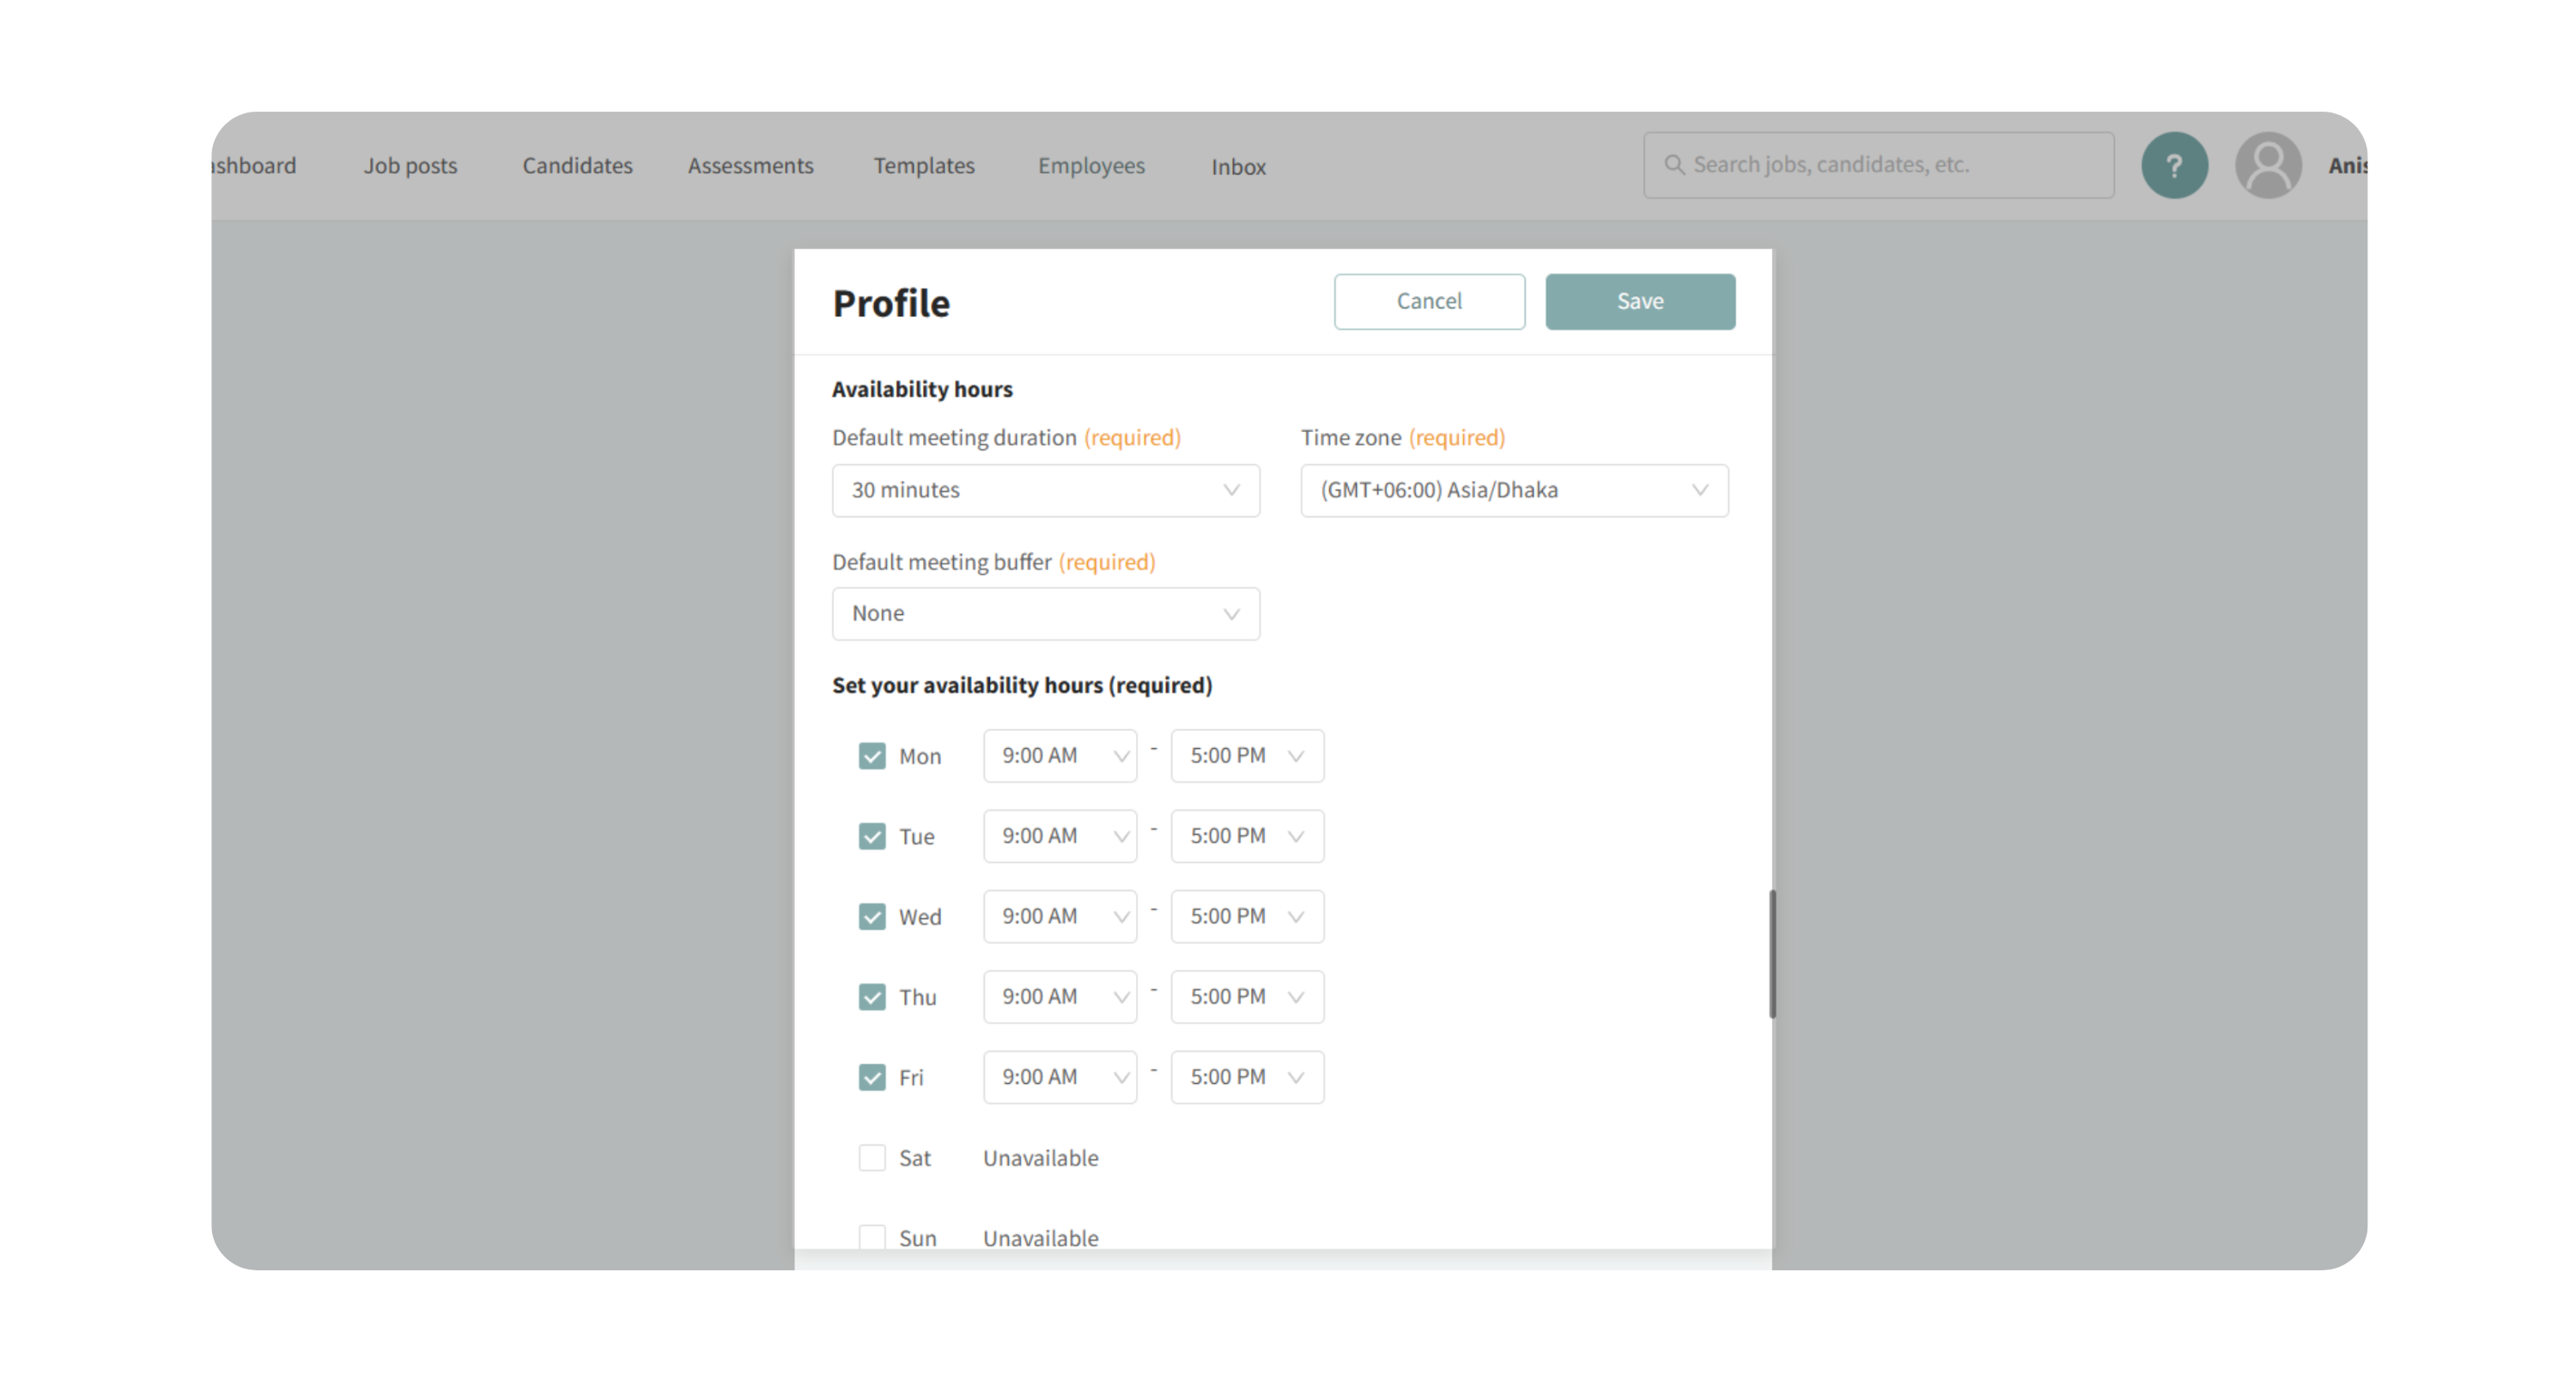
4. Define Duration, Time Zone & Availability
- Meeting Duration – Choose the default length (e.g., 30 minutes).
- Time Zone – Ensures candidates select times aligned with your local time.
- Buffer Between Meetings – Add a gap (5–30 minutes) between sessions.
- Availability Hours – Select which days and times you’re available.
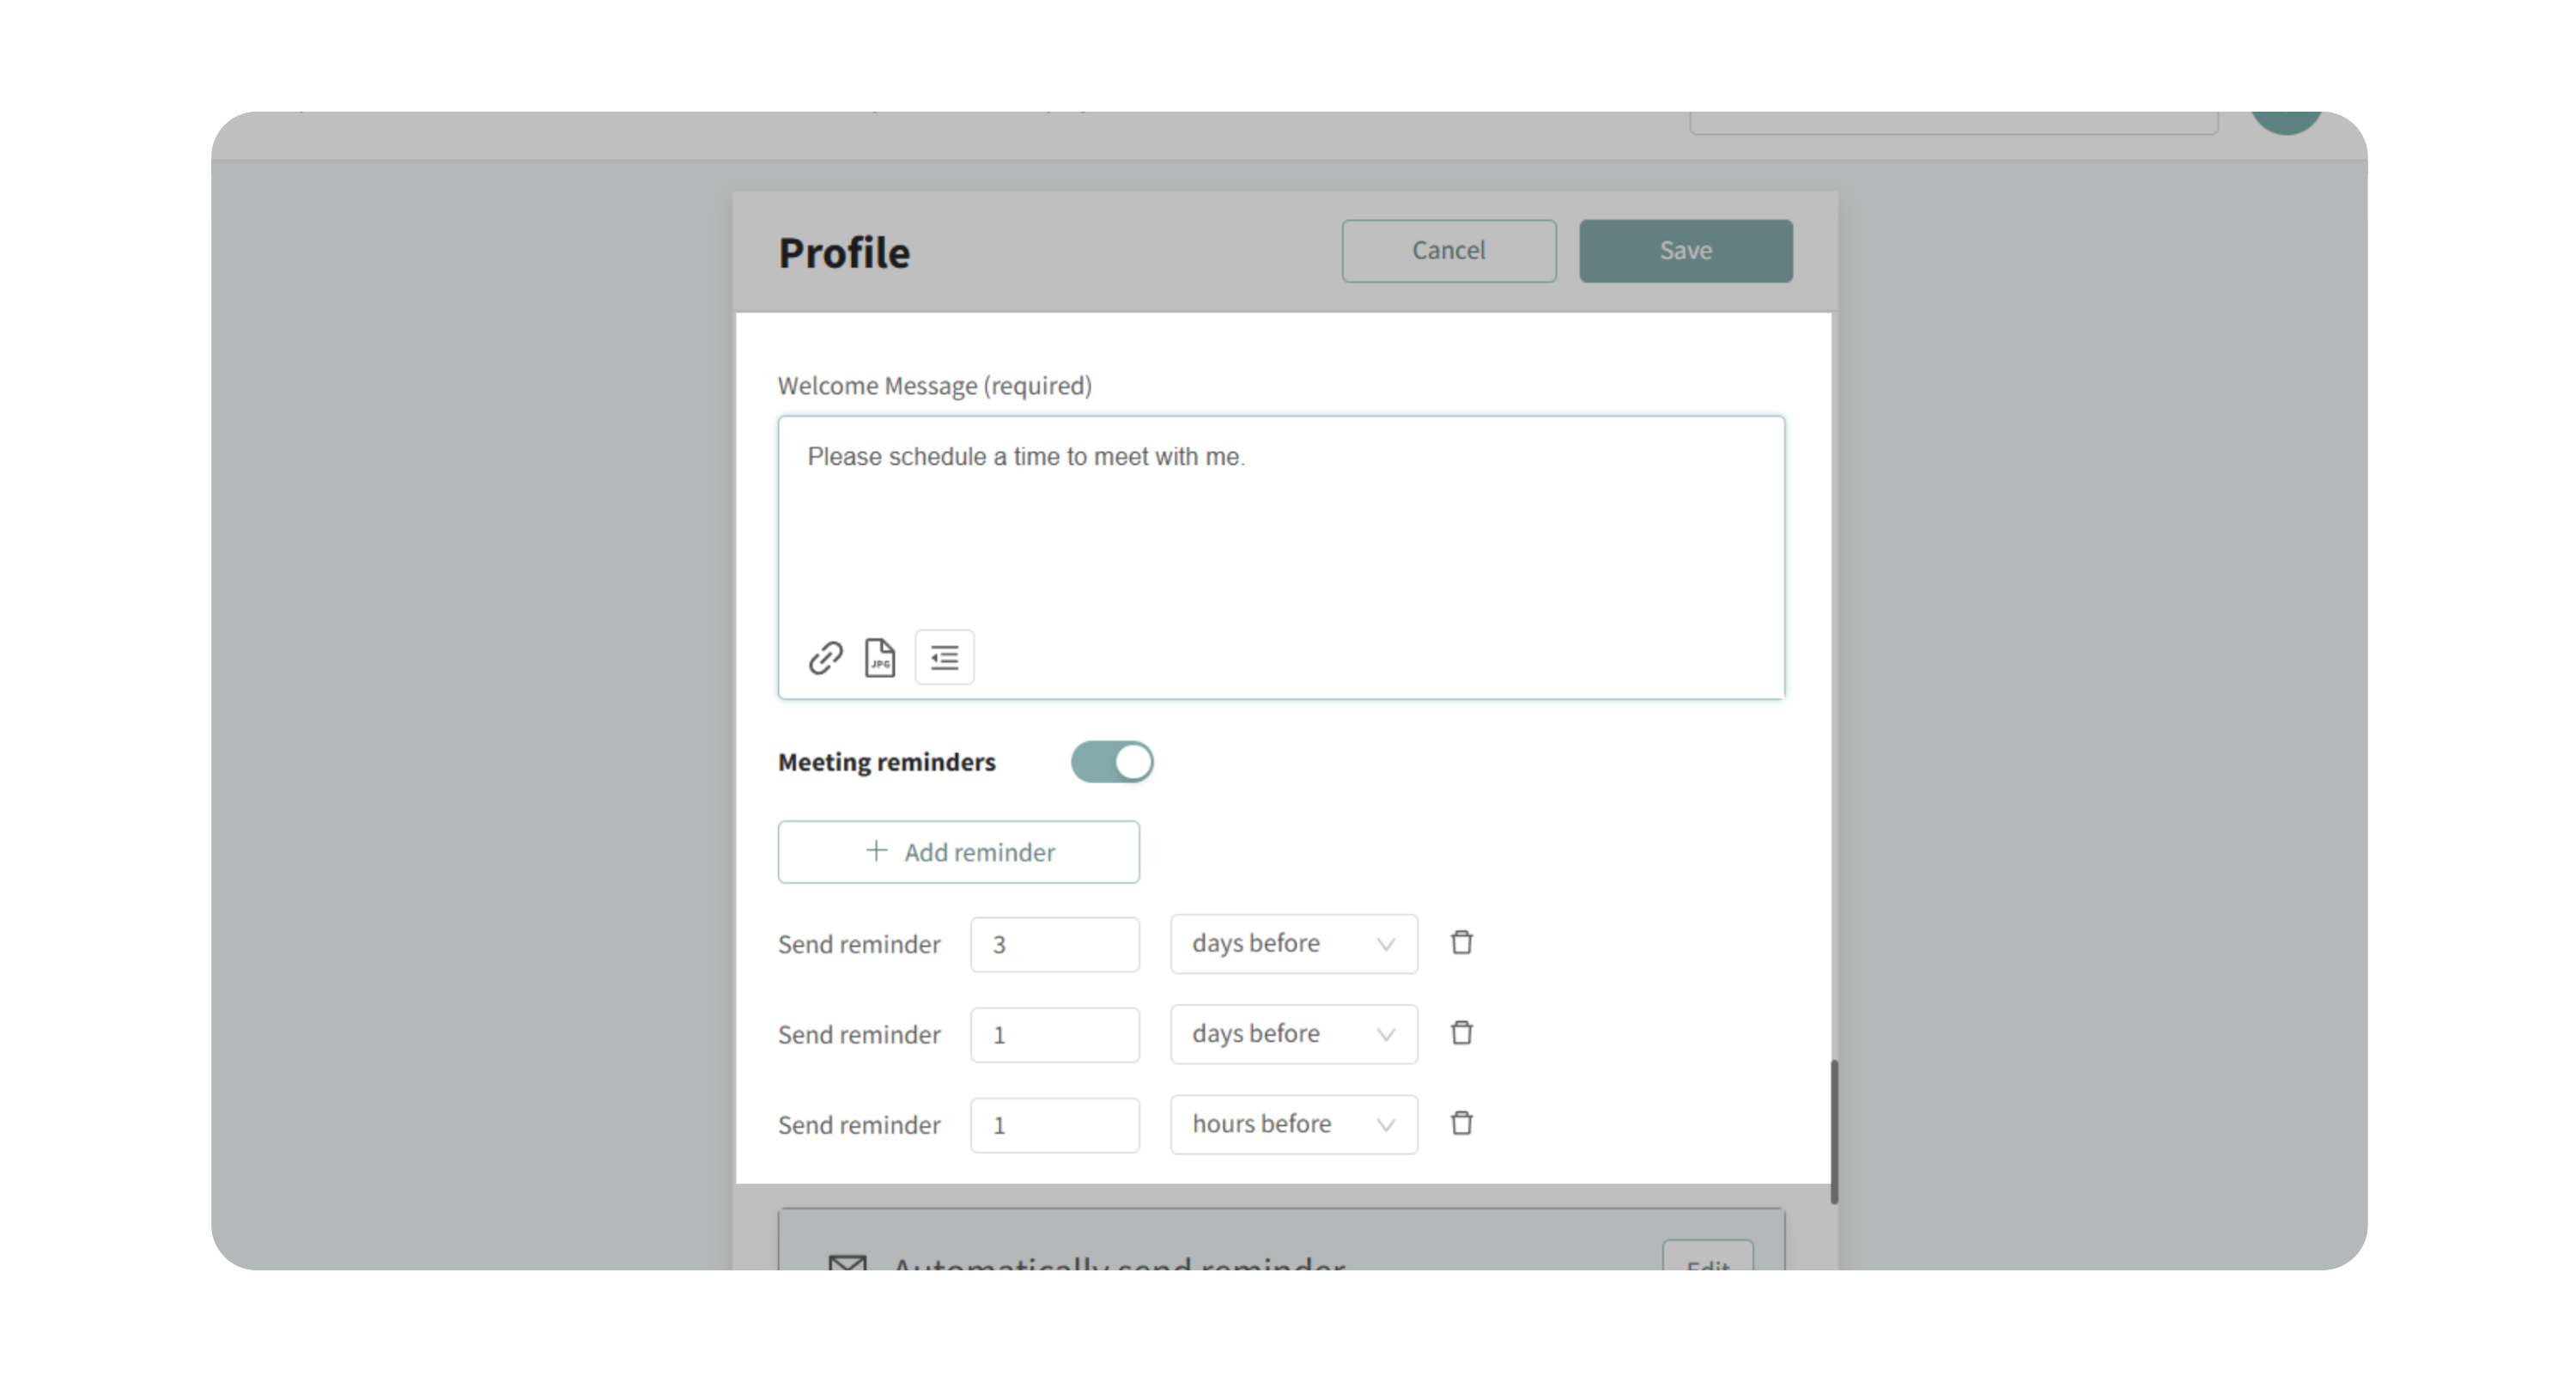
5. Customize Candidate Experience
- Welcome Message
- Appears when candidates open your scheduling link.
- Example: “Please select a time on my calendar to schedule an interview.”
- Meeting Reminders
- Enable automatic reminders via email.
- Choose when reminders go out (e.g., 30 minutes before, 1 day before).
- All reminders use the same message, which you can customize.
How to Check Connected Calendar
- On My Profile page, scroll down and look for Schedule interview and calendar settings.

- If your calendar is connected to the site, then you'll see a Schedule link.

- Just copy the link and open in new tab.
- You'll see a calendar.

- Also, check that your available dates and times appear as you set them. If something looks off, return to Edit Profile and update your settings as needed.
Why This Matters
Setting up your calendar ensures:
- Candidates can self-schedule meetings at times that work for you.
- Every meeting includes clear details (location, duration, purpose).
- You maintain control of availability and avoid back-to-back bookings.
- Automated reminders reduce no-shows.
Use Cases
- You want a ready-to-use scheduling link generated automatically in Discovered.
- You already use Calendly or another tool and prefer linking it.
- You want to include a Zoom link or physical location in all meetings.
- You want to set working hours so candidates only book during available times.
- You want to send automated reminders before meetings.
How It Works
- Once configured, your scheduling link (auto-generated or custom) can be shared with candidates.
- Candidates select from your available time slots.
- Events appear directly on your calendar with location, description, and details you’ve set.
- Reminders are sent automatically based on your preferences.
Best Practices
- Use a Zoom or Teams link in the meeting location for virtual interviews.
- Add a short buffer (10–15 minutes) to avoid back-to-back meetings.
- Write a clear welcome message so candidates know what to expect.
- Turn on reminders to minimize missed appointments.
What Happens Next
Once set up:
- Candidates can schedule meetings directly with you.
- Booked meetings appear automatically on your connected calendar.
- Reminders are sent to candidates at the intervals you’ve configured.
- You can update availability, duration, or message settings at any time.